Your Hair Will Shine Like Never Before With This DIY Treatment!
If you’re tired of dull, lifeless hair, it’s time to consider a DIY treatment that can transform your locks into a radiant masterpiece. This isn’t just about aesthetics; it’s about nourishing your hair with natural ingredients that enhance its shine and health. Curious about how to achieve that glossy finish? Let’s explore the essential ingredients and steps you need to take for stunning results.
Understanding the Importance of Hair Shine
Your Hair Will Shine Like Never Before With This DIY Treatment!
Understanding the Importance of Hair Shine
Hair shine isn’t just a sign of healthy locks; it reflects your overall hair care routine. When you notice that radiant glow, it’s a reminder of the love and effort you put into your hair. A good hair shine treatment can elevate your confidence and help you feel connected to a community that values beauty and self-care.
You might think hair shine is all about aesthetics, but it goes deeper. Shiny hair often indicates that your strands are well-moisturized and nourished, signaling to others that you prioritize your personal care. It’s like wearing your confidence on the outside. Incorporating a hair shine treatment into your routine isn’t just about looking good; it’s about embracing a lifestyle that celebrates healthy hair, and using natural ingredient recommendations can enhance the effectiveness of your treatment.
Incorporating a hair shine treatment into your routine isn’t just about looking good; it’s about embracing a lifestyle that celebrates healthy hair.
Essential Ingredients for Your DIY Treatment
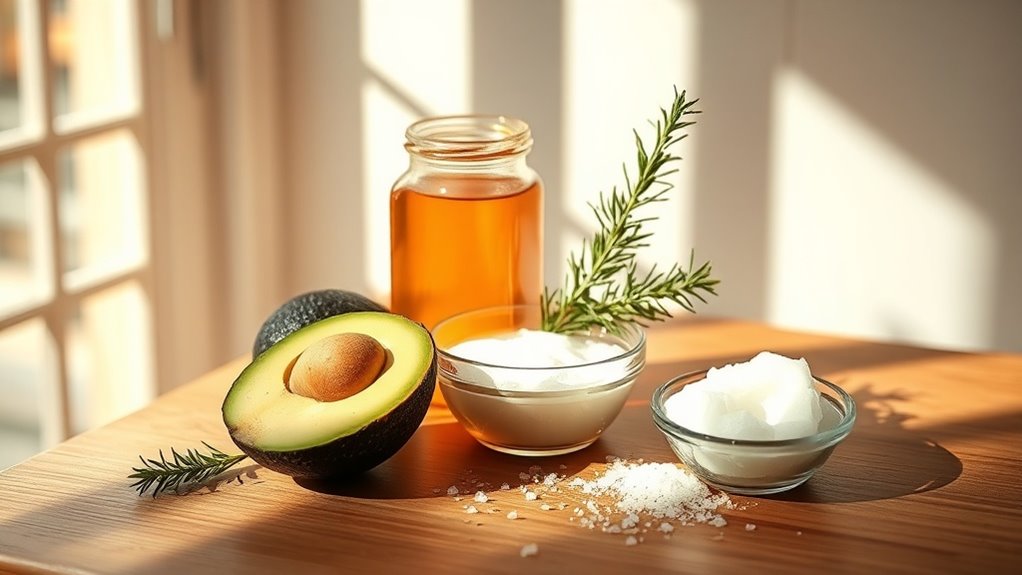
To achieve that coveted shine, you need to know which ingredients can boost your hair’s health. Using natural elements not only nourishes your strands but also makes you feel connected to the earth.
Here are three must-have ingredients for your DIY treatment:
-
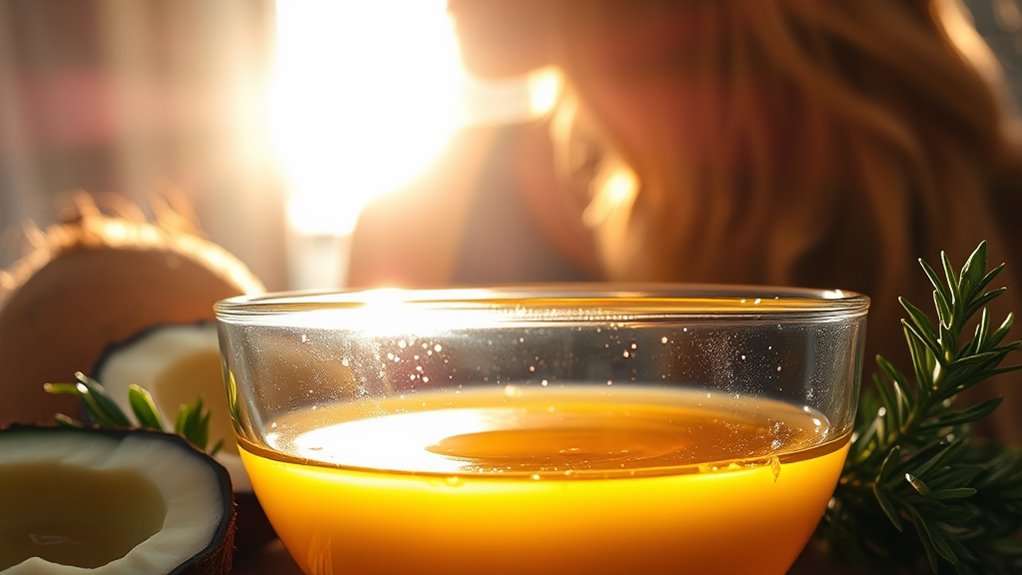
Coconut Oil: This deeply penetrates the hair shaft, providing moisture and reducing frizz. Plus, it’s packed with vitamins!
-
Honey: A natural humectant, honey attracts and retains moisture, leaving your hair softer and shinier. It’s also great for enhancing color.
-
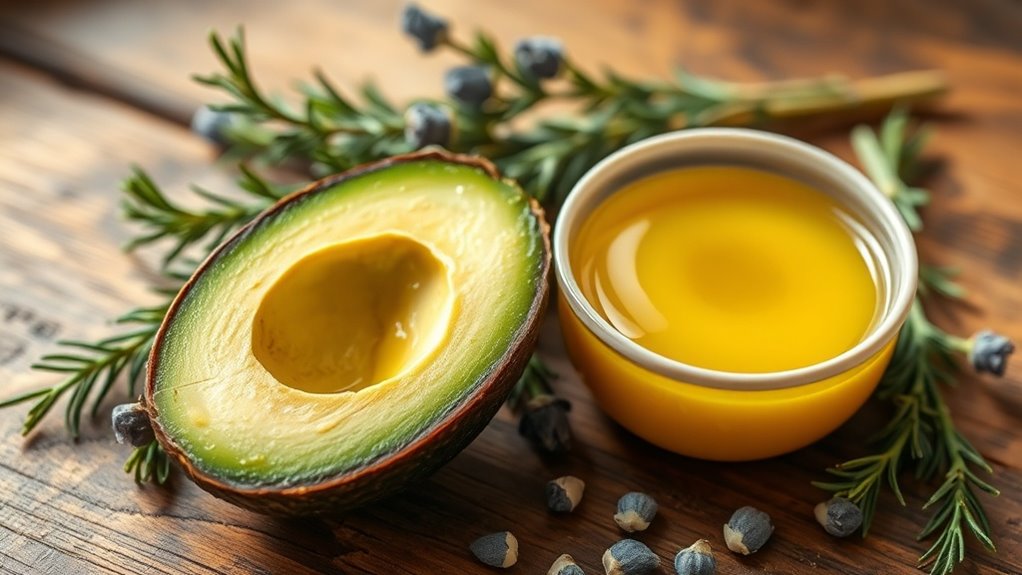
Avocado: Rich in fatty acids and vitamins, avocado nourishes and strengthens your hair, promoting overall shine and health.
Incorporating these ingredients into your treatment can help you create a little piece of self-care. DIY natural hair treatments not only enrich your hair but also foster a sense of belonging to the natural beauty community.
You’ll not only love how your hair looks but also feel a sense of belonging to the natural beauty community.
Step-by-Step Guide to Creating the Treatment
Creating your own hair treatment is a simple yet rewarding process that can transform your locks. Follow these steps to craft a nourishing blend that’ll leave your hair shining like never before.
| Ingredient | Purpose |
|---|---|
| Coconut Oil | Moisturizes & adds shine |
| Honey | Seals in moisture |
| Avocado | Provides vitamins |
| Essential Oil | Adds fragrance |
- Start by measuring 2 tablespoons of coconut oil and placing it in a bowl.
- Add 1 tablespoon of honey and mix until well combined.
- Mash half an avocado and stir it into the mixture, ensuring it’s smooth.
- If you want, add a few drops of your favorite essential oil for a personal touch.
Once your treatment is ready, you’ve taken a beautiful step towards healthier hair. Enjoy the process and share your creation with friends! Incorporating natural kitchen ingredients into your hair care routine can yield remarkable results.
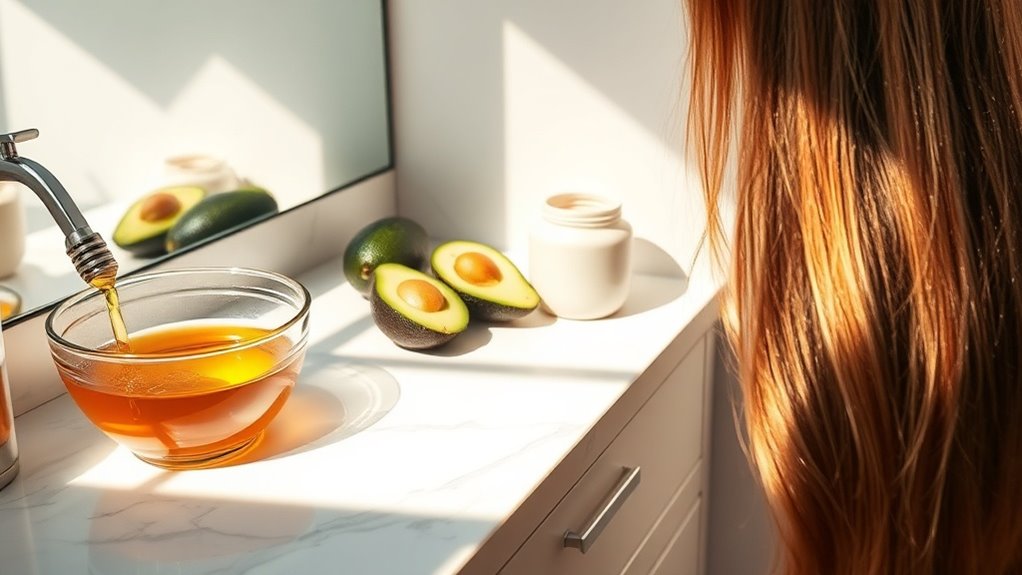
How to Apply the Treatment for Maximum Shine
Once you’ve crafted your nourishing hair treatment, applying it correctly is key to achieving maximum shine. Start by sectioning your hair into manageable parts; this ensures even distribution.
Then, follow these tips for an effective application:
- Warm the treatment slightly to enhance its absorption and effectiveness.
- Use your fingers or a brush to apply the treatment from roots to tips, making sure to coat each strand thoroughly.
- Gently massage your scalp while applying, stimulating blood flow and promoting hair health.
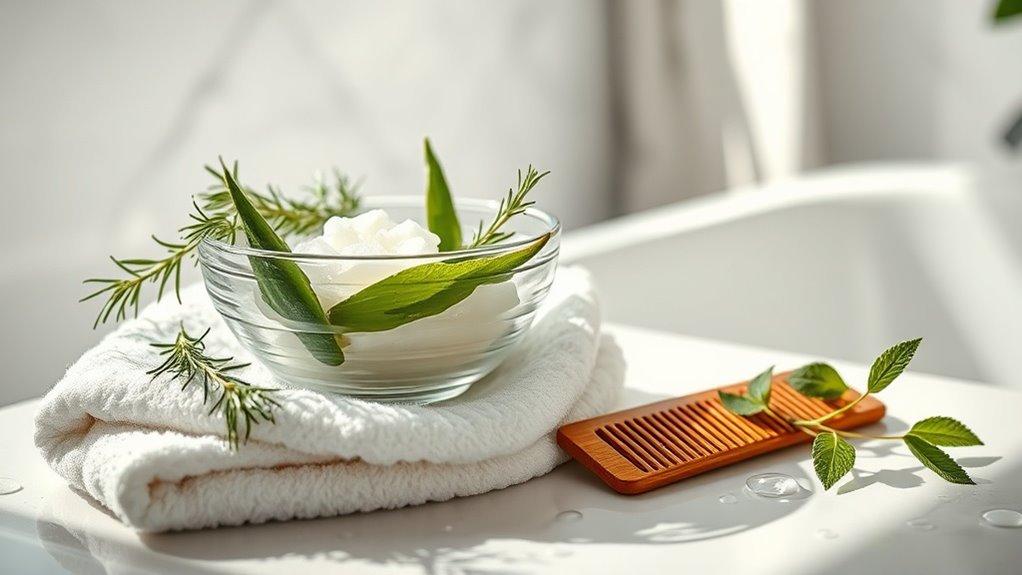
Once you’ve covered your hair, consider wrapping it in a warm towel or using a shower cap. This helps lock in moisture and allows the treatment to penetrate deeply.
Post-Treatment Care and Maintenance Tips
After treating your hair, it’s crucial to give it the proper care it needs to maintain that gorgeous shine. Start by washing your hair with a sulfate-free shampoo to keep the treatment intact. Use lukewarm water; hot water can strip away moisture and shine. Follow up with a hydrating conditioner to lock in moisture.
Limit your use of heat styling tools for at least a week. If you need to style, use a heat protectant spray to shield your strands.
Remember to incorporate a weekly deep conditioning mask to keep your hair nourished and vibrant.
Don’t forget to trim your ends regularly to avoid split ends and keep your hair looking fresh.
Lastly, protect your hair from sun damage by wearing a hat or using a UV protectant spray, especially when you’re outdoors.
With these simple tips, you’ll keep that radiant shine for longer!
Additional Tips for Long-Lasting Glossy Hair
To keep your hair looking glossy and vibrant, it’s essential to focus on your diet and hydration. Nourishing your body from within makes a huge difference in how your hair looks and feels.
Don’t underestimate the power of simple lifestyle changes. Here are some tips to maintain that shine:
-
Stay Hydrated: Drink plenty of water throughout the day to keep your hair and scalp hydrated.
-
Eat Nutrient-Rich Foods: Incorporate foods high in vitamins A, C, and E, as well as omega-3 fatty acids, to promote healthy hair.
-
Limit Heat Styling: Reduce the use of heat tools to prevent damage; opt for air drying whenever possible.
Additionally, consider using natural DIY hair growth treatments that can further enhance the health of your hair, promoting both shine and growth.