DIY Scar Serum That Smells and Works Great
To make a DIY scar serum that smells wonderful and works effectively, mix 2 tablespoons of carrier oil like jojoba or sweet almond with 10 drops of essential oils such as rosehip for skin regeneration, lavender for soothing, and tea tree for its antibacterial properties. After blending, let the mixture sit for 24 hours in a dark glass bottle. Applying it daily can enhance healing. Discover more tips and tricks to perfect your serum and optimize results.
Key Takeaways
- Combine carrier oils like jojoba or sweet almond with essential oils such as rosehip and lavender for a pleasant scent and effective healing properties.
- Infuse your scar serum with tea tree oil for antibacterial benefits, ensuring it smells refreshing while preventing infection.
- Use calming herbs like chamomile and calendula to enhance the scent and promote skin regeneration for better healing outcomes.
- Store your serum in a dark glass bottle to maintain potency and fragrance, protecting it from light and heat exposure.
- Apply consistently twice daily, massaging gently to improve absorption and circulation, making the serum both effective and enjoyable to use.
Understanding Scars and Their Healing Process
When you experience a wound, your body goes into action, initiating a complex healing process that ultimately leads to scar formation. This journey begins with inflammation, as your body rushes blood and nutrients to the site, promoting healing. As part of this process, effective techniques from natural wound healing practices can promote faster skin recovery and minimize scarring.
Next, collagen production ramps up, filling in the gap and creating new tissue. Over time, this tissue matures, resulting in a scar’s distinctive texture and color.
To support this process, you might consider a homemade scar oil blend. By using natural ingredients, you can nourish your skin and potentially improve the appearance of scars.
These blends often contain soothing oils that can help hydrate and promote healing, complementing your body’s natural efforts. Remember, patience is key; healing takes time.
Additionally, incorporating natural remedies can accelerate wound healing and reduce scar visibility, as supported by traditional medicine and scientific research.
Essential Ingredients for Your Scar Serum
When crafting your scar serum, choosing the right natural oils and healing herbs is crucial for effective results.
Each ingredient brings unique properties that can nourish your skin and promote healing.
Let’s explore how these powerful components can transform your homemade serum into a potent remedy for scars.
For instance, incorporating ingredients known for wound healing can enhance the serum’s effectiveness.
Key Natural Oils
Creating a potent scar serum hinges on the selection of key natural oils that work synergistically to promote healing and reduce the appearance of scars.
First, consider using rosehip oil, rich in vitamins and essential fatty acids, which helps regenerate skin cells.
Next, incorporate lavender oil for its soothing properties and ability to improve skin texture.
Tea tree oil is another great choice; it’s known for its antibacterial properties, ensuring your skin stays free from infection.
Lastly, jojoba oil mimics your skin’s natural oils, providing deep hydration while balancing oil production.
Healing Herbs Benefits
To enhance your DIY scar serum, incorporating healing herbs can significantly elevate its effectiveness.
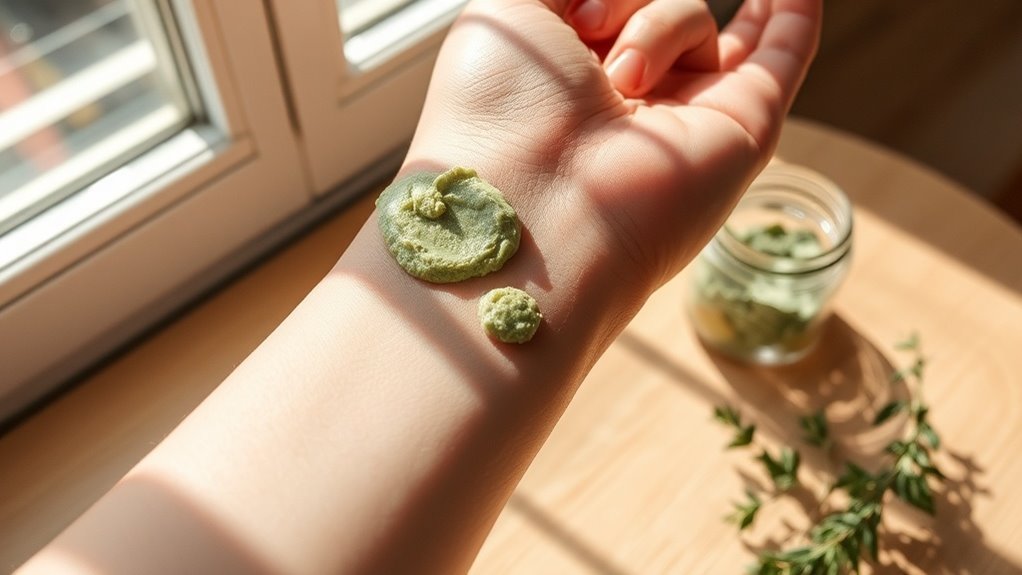
Herbal powerhouses like calendula and chamomile work wonders for skin healing. Calendula promotes cell regeneration and reduces inflammation, while chamomile soothes irritation and calms redness.
You might also consider adding lavender, known for its antiseptic properties, which helps prevent infection and encourages skin repair.
Gotu kola is another fantastic option; it stimulates collagen production, enhancing scar appearance over time.
Lastly, aloe vera not only hydrates but also promotes healing due to its anti-inflammatory compounds.
Step-by-Step Guide to Making Your Scar Serum
Making your own scar serum can be a rewarding and effective way to promote skin healing.
Start by gathering your ingredients: 2 tablespoons of carrier oil, like jojoba or coconut oil, and 10 drops of essential oils such as lavender or tea tree.
In a small bowl, mix the carrier oil with the essential oils. Stir gently until well combined.
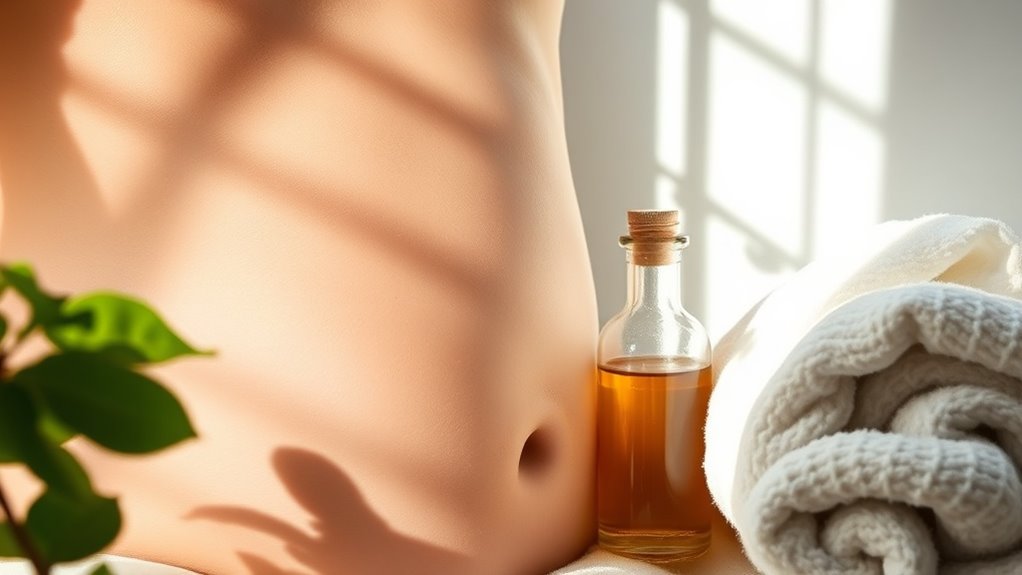
Next, transfer your mixture into a clean, dark glass bottle to protect it from light. Secure the lid tightly and shake the bottle lightly to blend the oils.
Let the serum sit for 24 hours to enhance its potency.
Finally, your homemade scar serum is ready to use! Enjoy the satisfaction of creating a natural remedy that nurtures your skin.
Tips for Application and Best Practices
Before applying your scar serum, make sure your skin is clean to maximize absorption.
Consistency is key, so apply the serum regularly for the best results.
As you massage it in gently, you’ll not only enhance circulation but also help the serum penetrate deeper into the skin.
Clean Skin First
While you may be eager to apply your DIY scar serum, starting with clean skin is crucial for achieving the best results.
Begin by washing your face or the affected area with a gentle cleanser. This removes dirt, oil, and impurities that could block the serum’s absorption.
Pat your skin dry with a soft towel—don’t rub, as that can irritate your skin. If you’re treating scars on your body, ensure the area is free from sweat or lotion.
Consider using warm water, as it opens up your pores, allowing the serum to penetrate deeper.
Taking these steps not only enhances the effectiveness of your serum but also helps prevent breakouts or irritation, leaving your skin primed for healing.
Apply Regularly
To maximize the effectiveness of your DIY scar serum, applying it consistently is key. Set a daily routine to incorporate the serum into your skincare regimen; consistency breeds results.
Aim to apply it at least twice a day—once in the morning and once at night—for optimal benefits. Consider using a small, clean applicator to dispense the serum, ensuring you use just the right amount without waste.
After you’ve applied it, let the serum absorb fully into your skin before layering on any other products. Also, keep your serum stored in a cool, dark place to maintain its potency.
Massage Gently
Incorporating a gentle massage into your scar serum application can significantly enhance its effectiveness. When you apply the serum, use your fingertips to create small, circular motions over the scar. This not only helps the serum penetrate deeper but also promotes blood circulation, aiding in the healing process.
Make sure to use a light touch; you don’t want to aggravate the area. As you massage, focus on areas that feel tight or raised, as this can help break down fibrous tissue. Aim for about five to ten minutes per session, ideally twice daily.
Consistency is key, so make this part of your routine. You’ll not only see improvements in your skin, but you’ll also enjoy a soothing, self-care moment.
Additional Natural Remedies for Scar Treatment
Although many people turn to commercial products for scar treatment, a variety of natural remedies can be just as effective—and often gentler on the skin.
Here are three options you might consider:
-
Aloe Vera: Known for its soothing properties, aloe vera can hydrate your skin and promote healing. Apply fresh gel directly from the leaf for the best results.
-
Coconut Oil: Rich in fatty acids, coconut oil helps to moisturize and may reduce the appearance of scars. Massage it into your skin daily for optimal benefits.
-
Honey: This natural humectant not only hydrates but also has antibacterial properties. Applying raw honey to your scars can help speed up the healing process.
Try these remedies and see which one works best for you! Many of these ingredients align with home remedies that use affordable, everyday items to improve skin health.
For enhanced results, incorporating techniques from natural remedies aimed at faster healing can further support scar recovery.
Storing and Preserving Your Scar Serum
Properly storing and preserving your DIY scar serum is essential to maintain its efficacy and extend its shelf life. To ensure your serum remains potent, keep it in a dark, cool place, away from direct sunlight and heat sources. Glass containers are ideal, as they won’t react with the ingredients. Remember to tightly seal your container after each use to minimize exposure to air.
Here’s a quick reference table for effective storage:
| Storage Method | Ideal Temperature | Container Type |
|---|---|---|
| Dark Cabinet | 60-75°F | Dark Glass Bottle |
| Refrigerator | 35-45°F | Amber Glass Jar |
| Freezer | Below 32°F | Airtight Plastic Bag |
| Room Temperature | 70°F | Frosted Glass Bottle |
| Avoid Heat | Above 75°F | Non-Reactive Metal |
Following these tips will help keep your scar serum effective and fresh!